Heads up: some links are affiliate, so I may earn a tiny commission (at no extra cost to you!) on stuff I genuinely adore. Please read my Disclosure Policy for additional information.
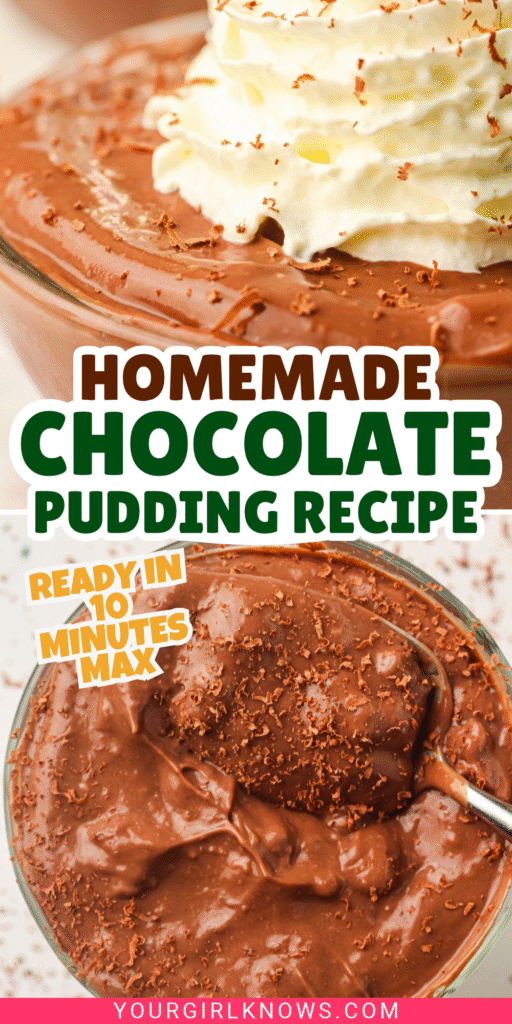
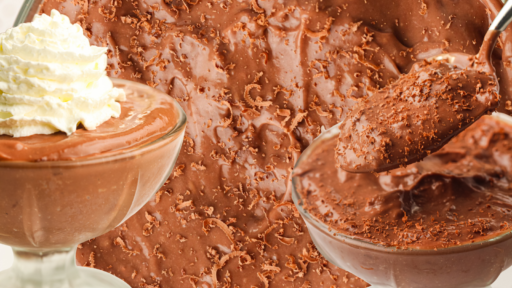
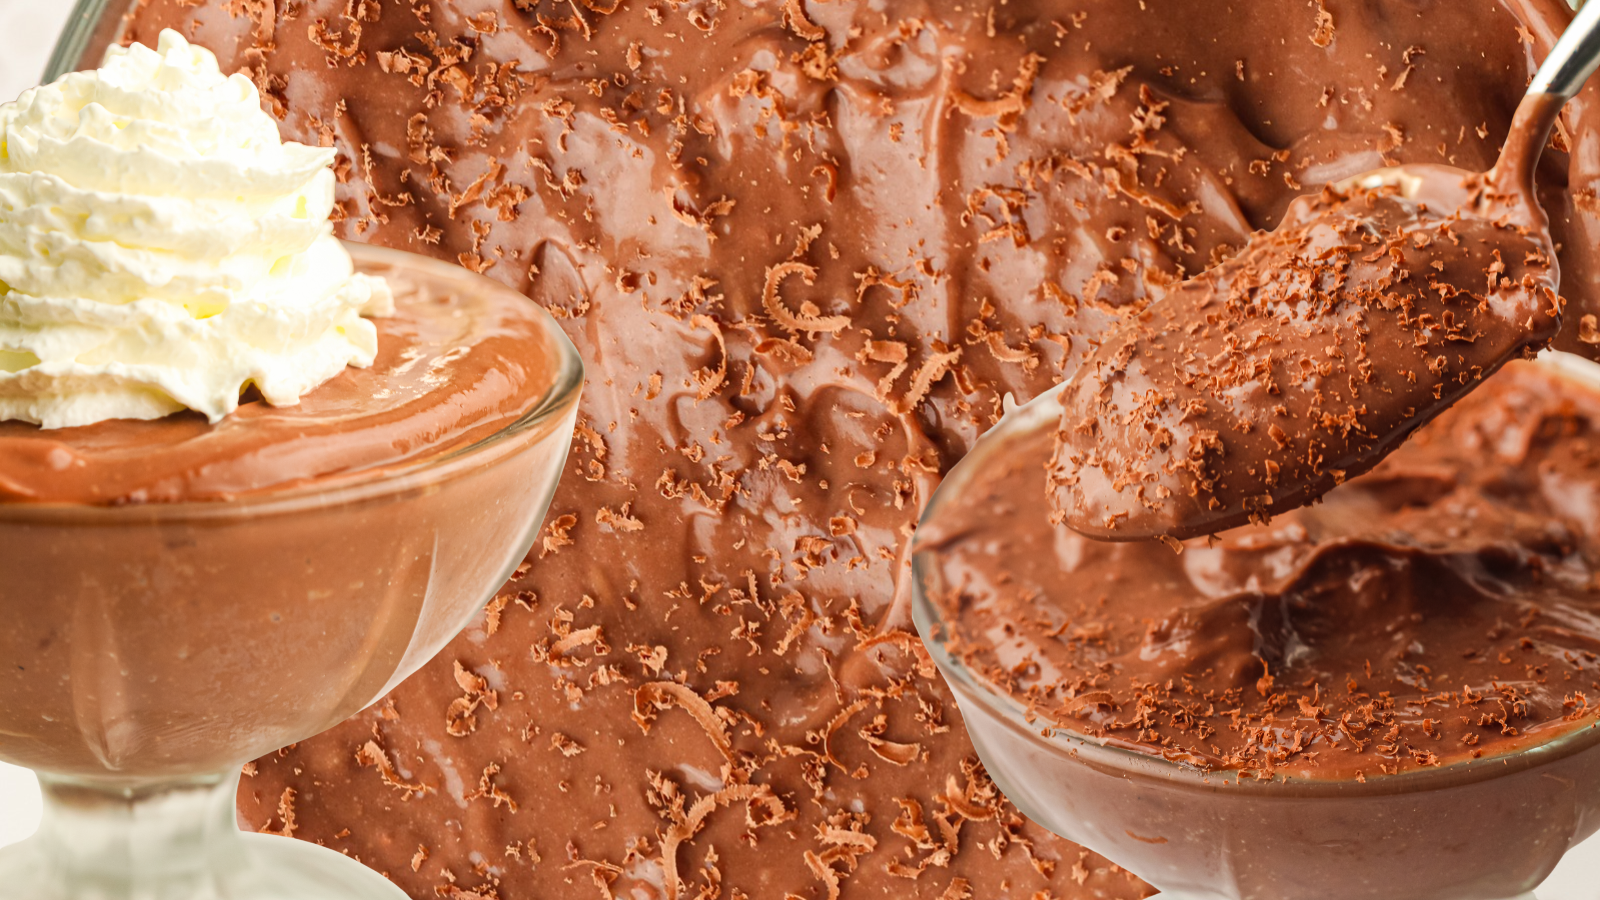
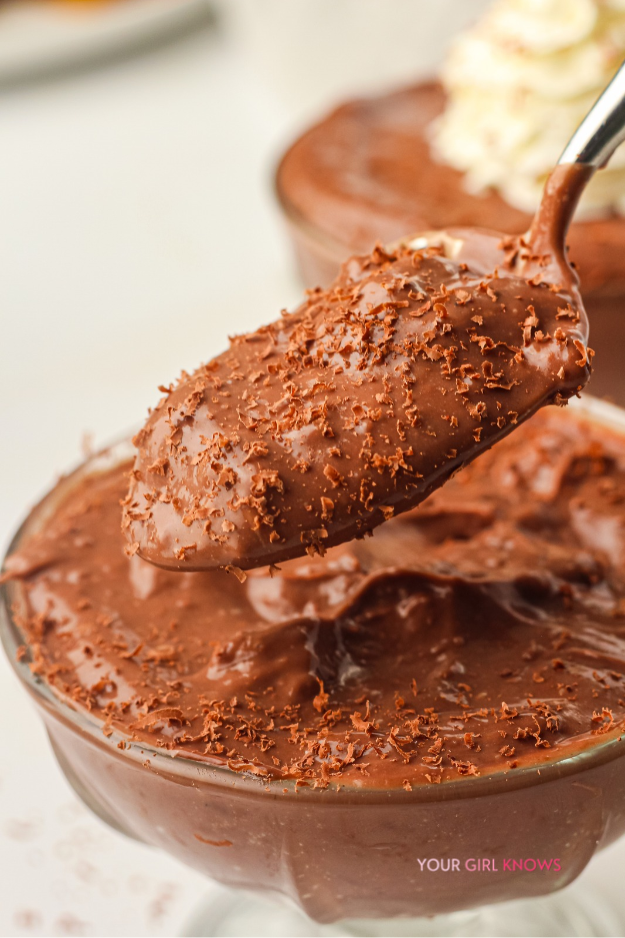
This easy homemade old fashioned chocolate pudding is silky, rich, and made from scratch on the stovetop with simple pantry ingredients. One spoonful and you’ll never reach for the boxed stuff again.
Ingredients

- ½ cup granulated sugar
- ¼ cup unsweetened cocoa powder
- 3 tablespoons cornstarch
- ¼ teaspoon kosher salt
- 2½ cups whole milk
- ½ cup heavy whipping cream
- 2 large egg yolks
- 3 ounces semisweet chocolate chips
- 2 tablespoons unsalted butter
- 1½ teaspoons pure vanilla extract
How to Make Old Fashioned Homemade Chocolate Pudding
Step 1: Whisk the Dry Ingredients
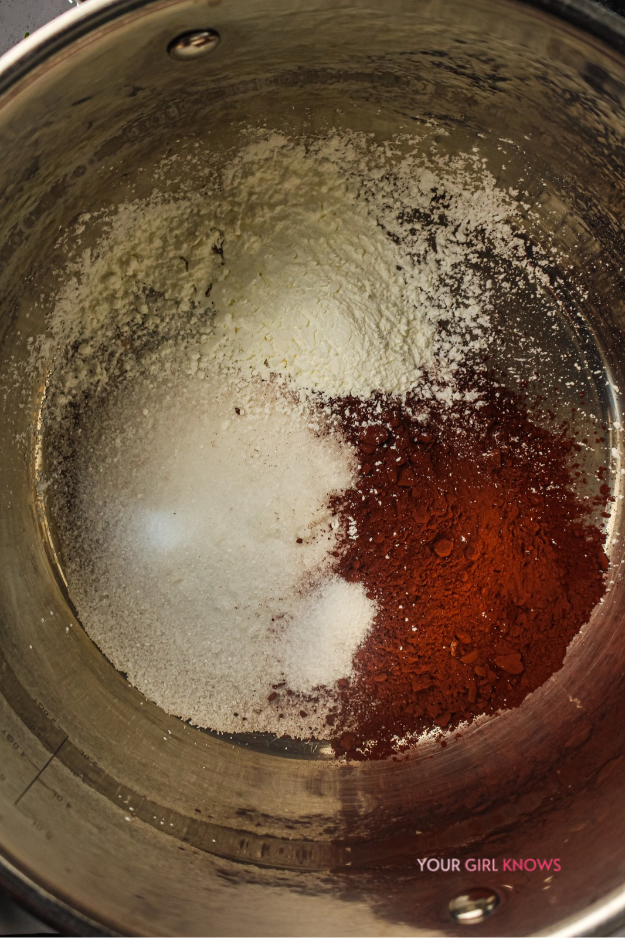
Add the sugar, cocoa powder, cornstarch, and salt to a medium, heavy-bottomed saucepan. Before turning on the heat, whisk well to combine and break up any cocoa lumps.
Step 2: Add the Milk and Cream
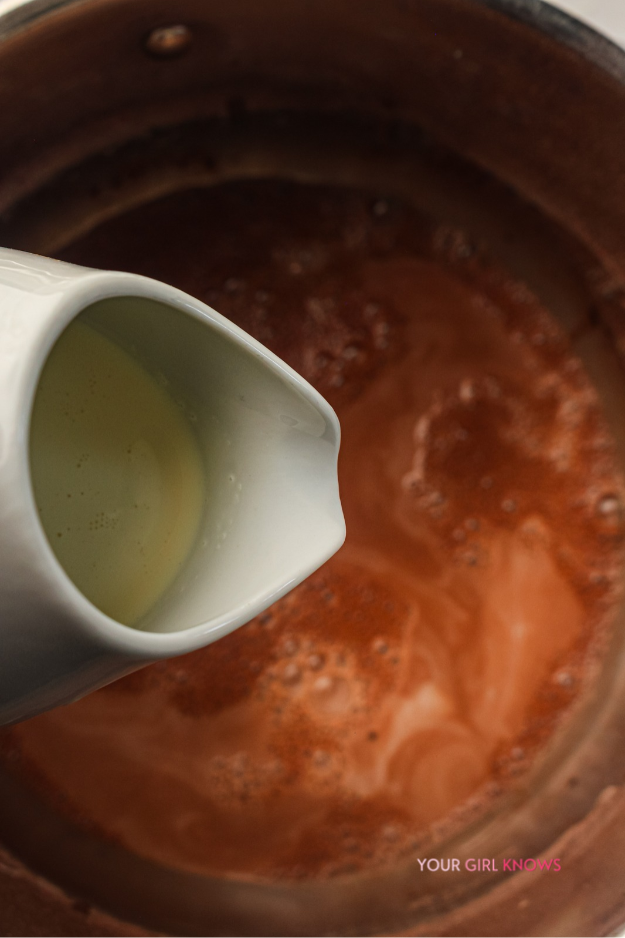
Pour in about ½ cup of the milk and whisk until smooth with no dry patches. Gradually add the remaining milk and the heavy cream, whisking as you pour.
Step 3: Prep the Egg Yolks
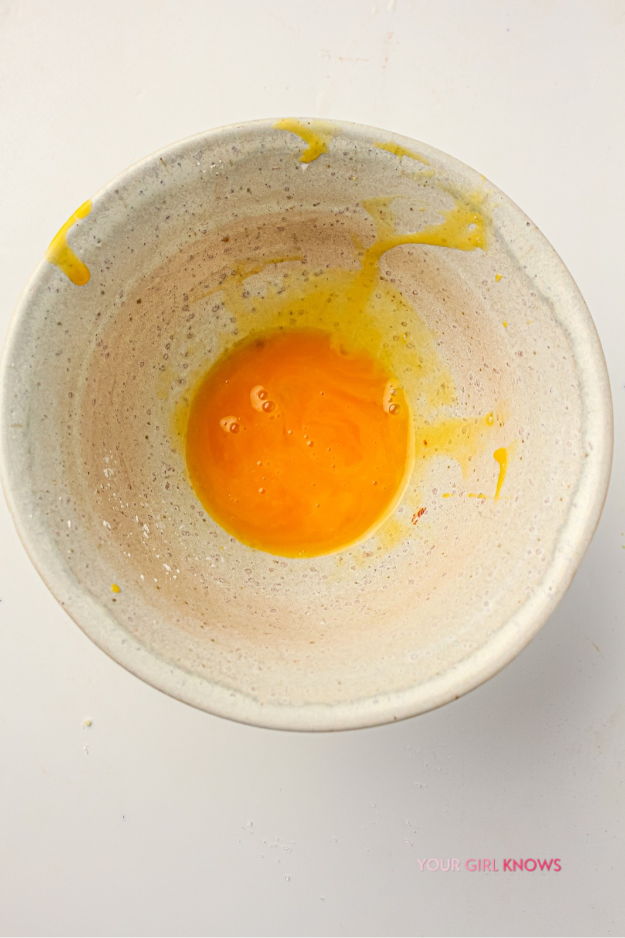
Place the egg yolks in a small bowl and whisk lightly with a fork. Set aside while you warm the chocolate mixture.
Step 4: Warm the Chocolate Mixture
Place the saucepan over medium-low heat and stir regularly with a whisk, reaching the bottom and edges where the cornstarch can settle. After a few minutes, the mixture should be warm and the cocoa fully incorporated.
Step 5: Temper the Egg Yolks
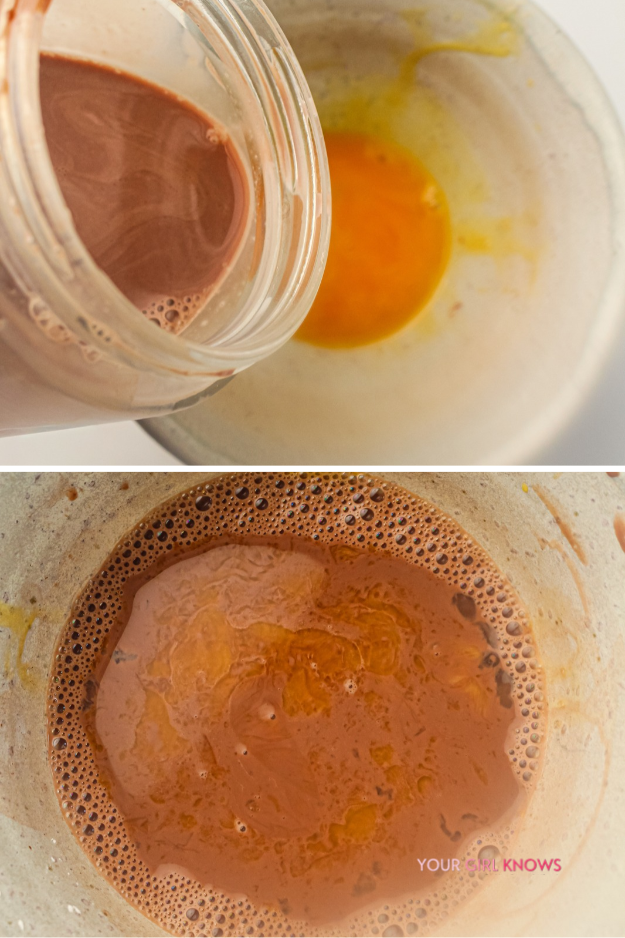
Slowly pour about ½ cup of the warm chocolate mixture into the egg yolks, whisking constantly. This gently warms the yolks so they won’t scramble.
Step 6: Return to the Saucepan
Pour the warmed egg mixture back into the saucepan, whisking as you go. Keep the heat at medium-low and keep stirring.
Step 7: Thicken the Pudding
As it heats up, the pudding will start to thicken. Keep whisking, especially around the bottom of the pan, to prevent lumps.
Step 8: Cook Out the Cornstarch
Continue cooking until the pudding reaches a gentle bubble and is thick enough to coat the back of a spoon. Let it bubble gently for 1 to 2 minutes, whisking the whole time, to cook out the cornstarch.
Step 9: Melt in the Chocolate and Butter
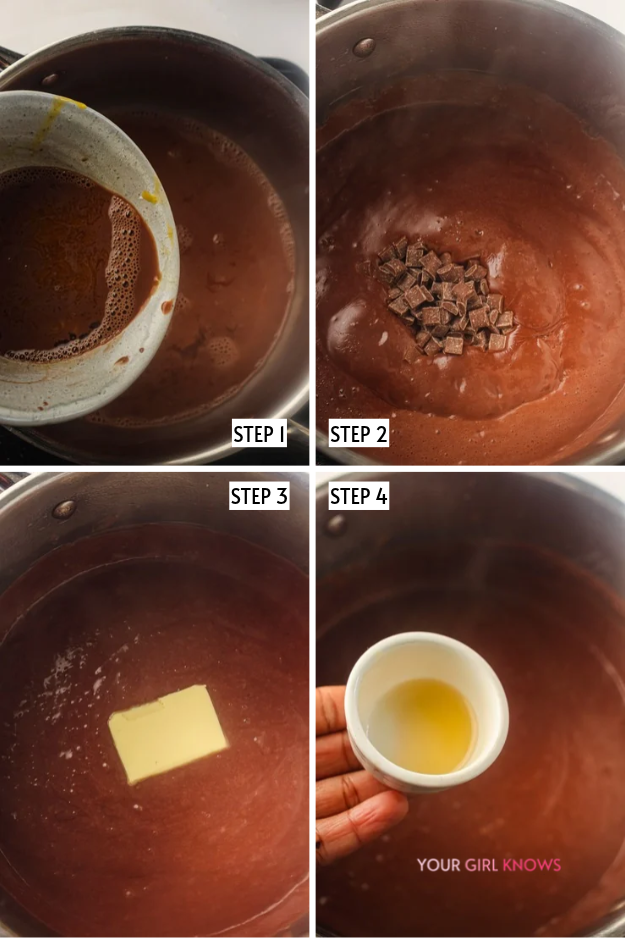
Take the saucepan off the heat. Add the semisweet chocolate chips and butter, stirring until both have melted completely.
Step 10: Stir in the Vanilla
Stir in the vanilla extract.
Step 11: Strain if You Like
For an extra-smooth finish, pour the pudding through a fine-mesh sieve into a clean bowl. This is optional, but handy if any small lumps have formed.
Step 12: Divide into Dishes
Divide the warm pudding between six small dessert bowls or glasses. Gently tap each dish on the counter to help the pudding settle and smooth out the tops.
Step 13: Cover or Skip the Skin
If you prefer pudding without a skin, press a small piece of plastic wrap directly against the surface of each portion. If you love the traditional pudding skin, leave the tops uncovered while they cool slightly.
Step 14: Chill Until Set
Leave the pudding at room temperature for 15 to 20 minutes, then transfer to the refrigerator. Chill for at least 3 hours, until completely cold and set.
Step 15: Serve
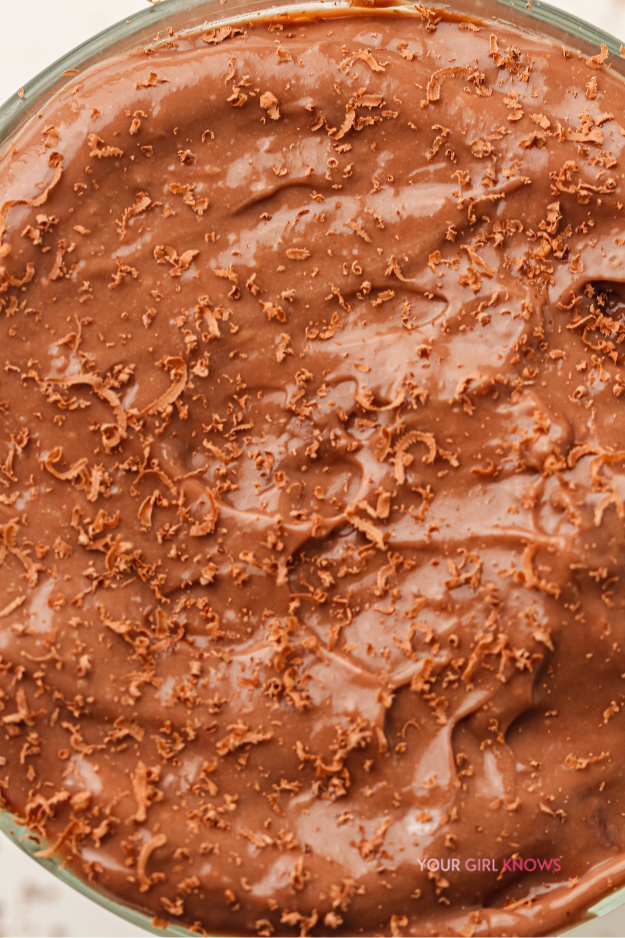
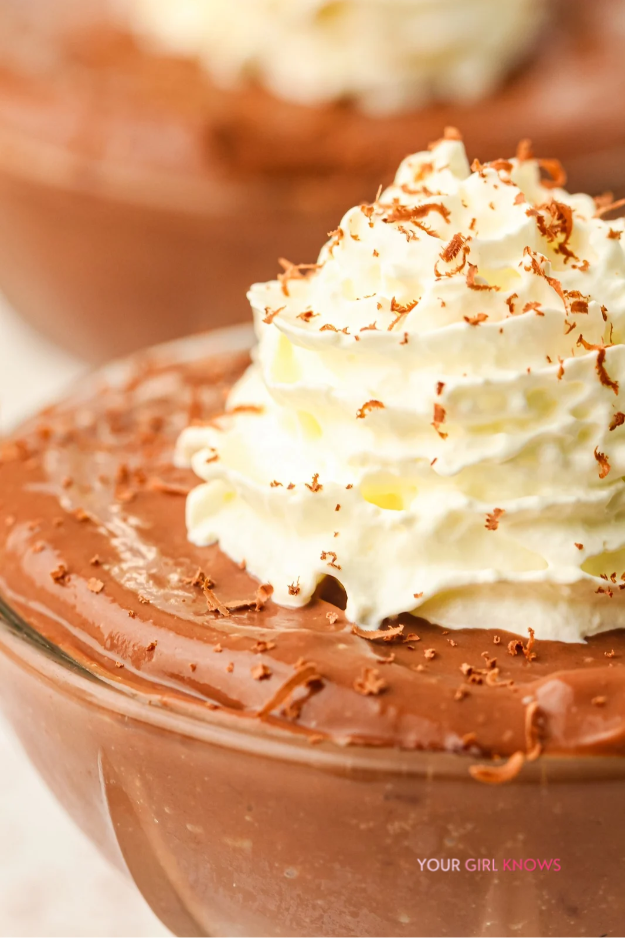
Remove the plastic wrap if you used it. Serve as is, or top with a little whipped cream and chocolate shavings.
Recipe Notes
- Use good-quality chocolate: Semisweet gives a rich chocolate flavor without making the pudding overly sweet.
- Keep the heat gentle: Medium-low heat prevents the milk from scorching and the eggs from scrambling.
- Whisk regularly: The pudding thickens quickly toward the end, so keep stirring to prevent lumps.
Storage
Fridge: Store in airtight containers or covered serving dishes for up to 3 to 4 days.
Freezer: Freezing isn’t recommended, as the pudding can turn watery or grainy once thawed.
Make ahead: Prepare up to 2 days before serving and keep refrigerated.
Prep Time:
10 minutes
Cook Time:
15 minutes
Total Time:
25 minutes
Silky, deeply chocolatey stovetop pudding made from scratch, the cozy old fashioned dessert that tastes like childhood, only better.
Ingredients
- ½ cup granulated sugar
- ¼ cup unsweetened cocoa powder
- 3 tablespoons cornstarch
- ¼ teaspoon kosher salt
- 2½ cups whole milk
- ½ cup heavy whipping cream
- 2 large egg yolks
- 3 ounces semisweet chocolate chips
- 2 tablespoons unsalted butter
- 1½ teaspoons pure vanilla extract
Instructions
- In a medium, heavy-bottomed saucepan, whisk together the sugar, cocoa powder, cornstarch, and salt.
- Whisk in ½ cup of the milk until smooth, then gradually add the remaining milk and the cream.
- Lightly whisk the egg yolks in a small bowl and set aside.
- Warm the saucepan over medium-low heat, whisking regularly, until the mixture is warm and the cocoa is fully incorporated.
- Slowly whisk about ½ cup of the warm mixture into the yolks, then pour the yolk mixture back into the saucepan.
- Keep cooking over medium-low heat, whisking constantly, until the pudding thickens and coats the back of a spoon.
- Let it bubble gently for 1 to 2 minutes, whisking the whole time.
- Remove from the heat. Stir in the chocolate and butter until melted, then stir in the vanilla.
- Optional: pour through a fine-mesh sieve for an extra-smooth finish.
- Divide between six dessert bowls and tap gently to settle. Press plastic wrap onto the surface if you want to avoid a skin.
- Cool at room temperature for 15 to 20 minutes, then refrigerate for at least 3 hours until cold and set.
- Serve plain or topped with whipped cream and chocolate shavings.
Notes
- Keep the heat at medium-low and whisk often to prevent scorching and lumps.
- Keeps in the fridge for 3 to 4 days. Not recommended for freezing.
Frequently Asked Questions
Can I make this chocolate pudding ahead of time?
Yes! It’s ideal for making ahead. Prepare it the day before and keep it in the fridge until you’re ready to serve.
Why isn’t my chocolate pudding thickening?
The pudding needs to get hot enough for the cornstarch to activate. Keep whisking over medium-low heat until it bubbles gently and thickens.
Can I use milk chocolate instead of semisweet chocolate?
Yes, although the pudding will taste sweeter and have a milder chocolate flavor.
Why has my pudding formed a skin?
It happens naturally as pudding cools. To prevent it, press plastic wrap directly onto the surface before refrigerating.
Can I serve this pudding warm?
Absolutely! You can enjoy it warm, although it will be softer than when fully chilled.
How do you make chocolate pudding without lumps?
Whisk the dry ingredients first, add the milk gradually, and keep whisking along the bottom and edges of the pan as it thickens. Straining through a fine-mesh sieve at the end catches any strays.
How long does homemade chocolate pudding last?
It keeps in the fridge for 3 to 4 days when stored in airtight containers or covered dishes.
What can I top chocolate pudding with?
Whipped cream and chocolate shavings are classic. Fresh berries, crushed cookies, or a sprinkle of flaky salt are all delicious too.
related articles to Homemade Chocolate Pudding